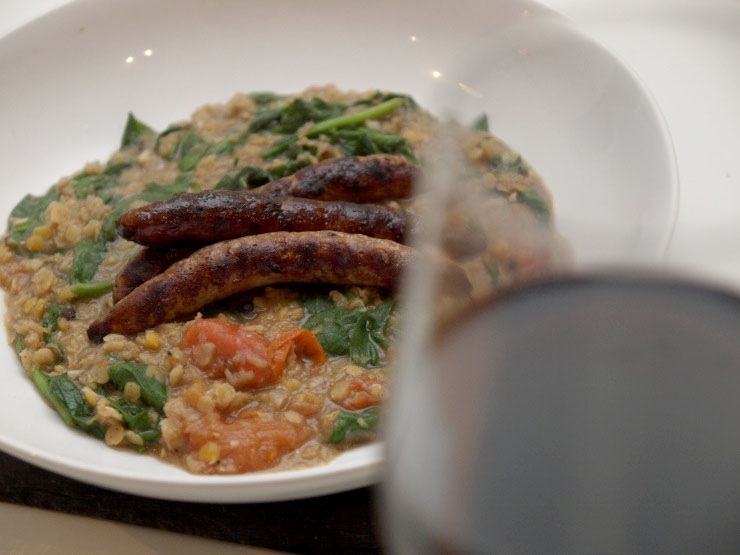
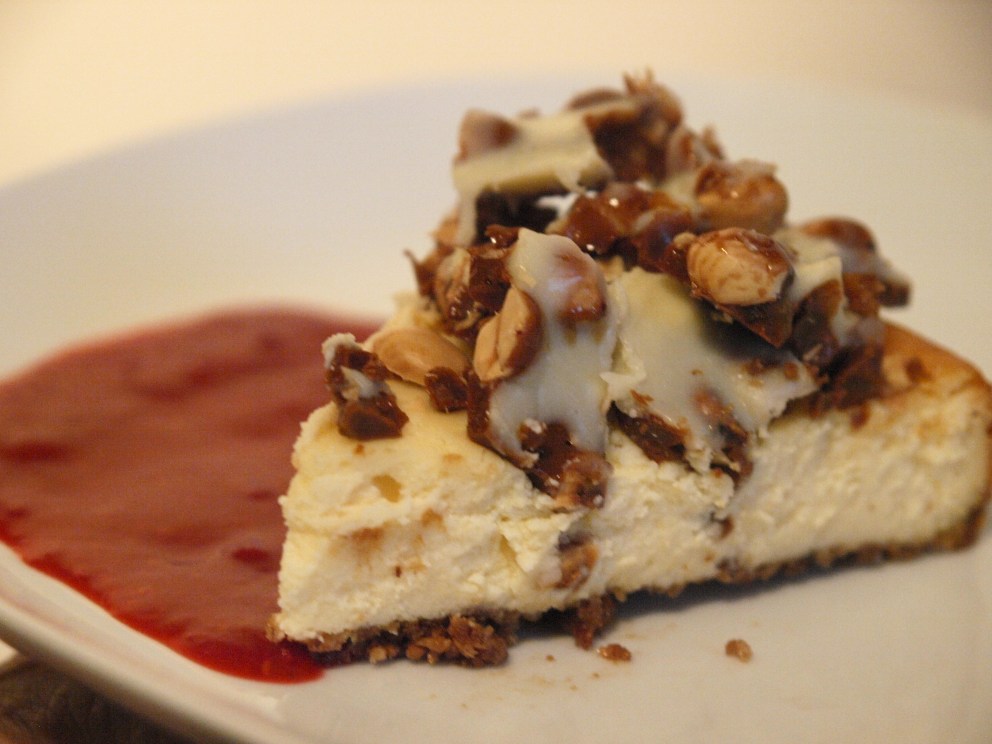
I visited Azerbaijan recently, where two important events occurred. First, I tasted the most perfectly roasted hazelnuts I’d ever tasted in my life – blanched, light, crunchy and ever so slightly sweet. Let’s just say it was an eye-opener. Second, I got to see my lovely sister and brother-in-law, and my even lovelier nephew, who live in Azerbaijan. Said sister, let’s call her Kate for the sake of argument (and because it’s her name), is also a foodie. So, one day while I was there, we decided it would be entertaining to pick something to cook and each do our own take on it. Approximately 3 weeks later, here is my take on baked cheesecake with chocolate and hazelnuts.
Ingredients
Base
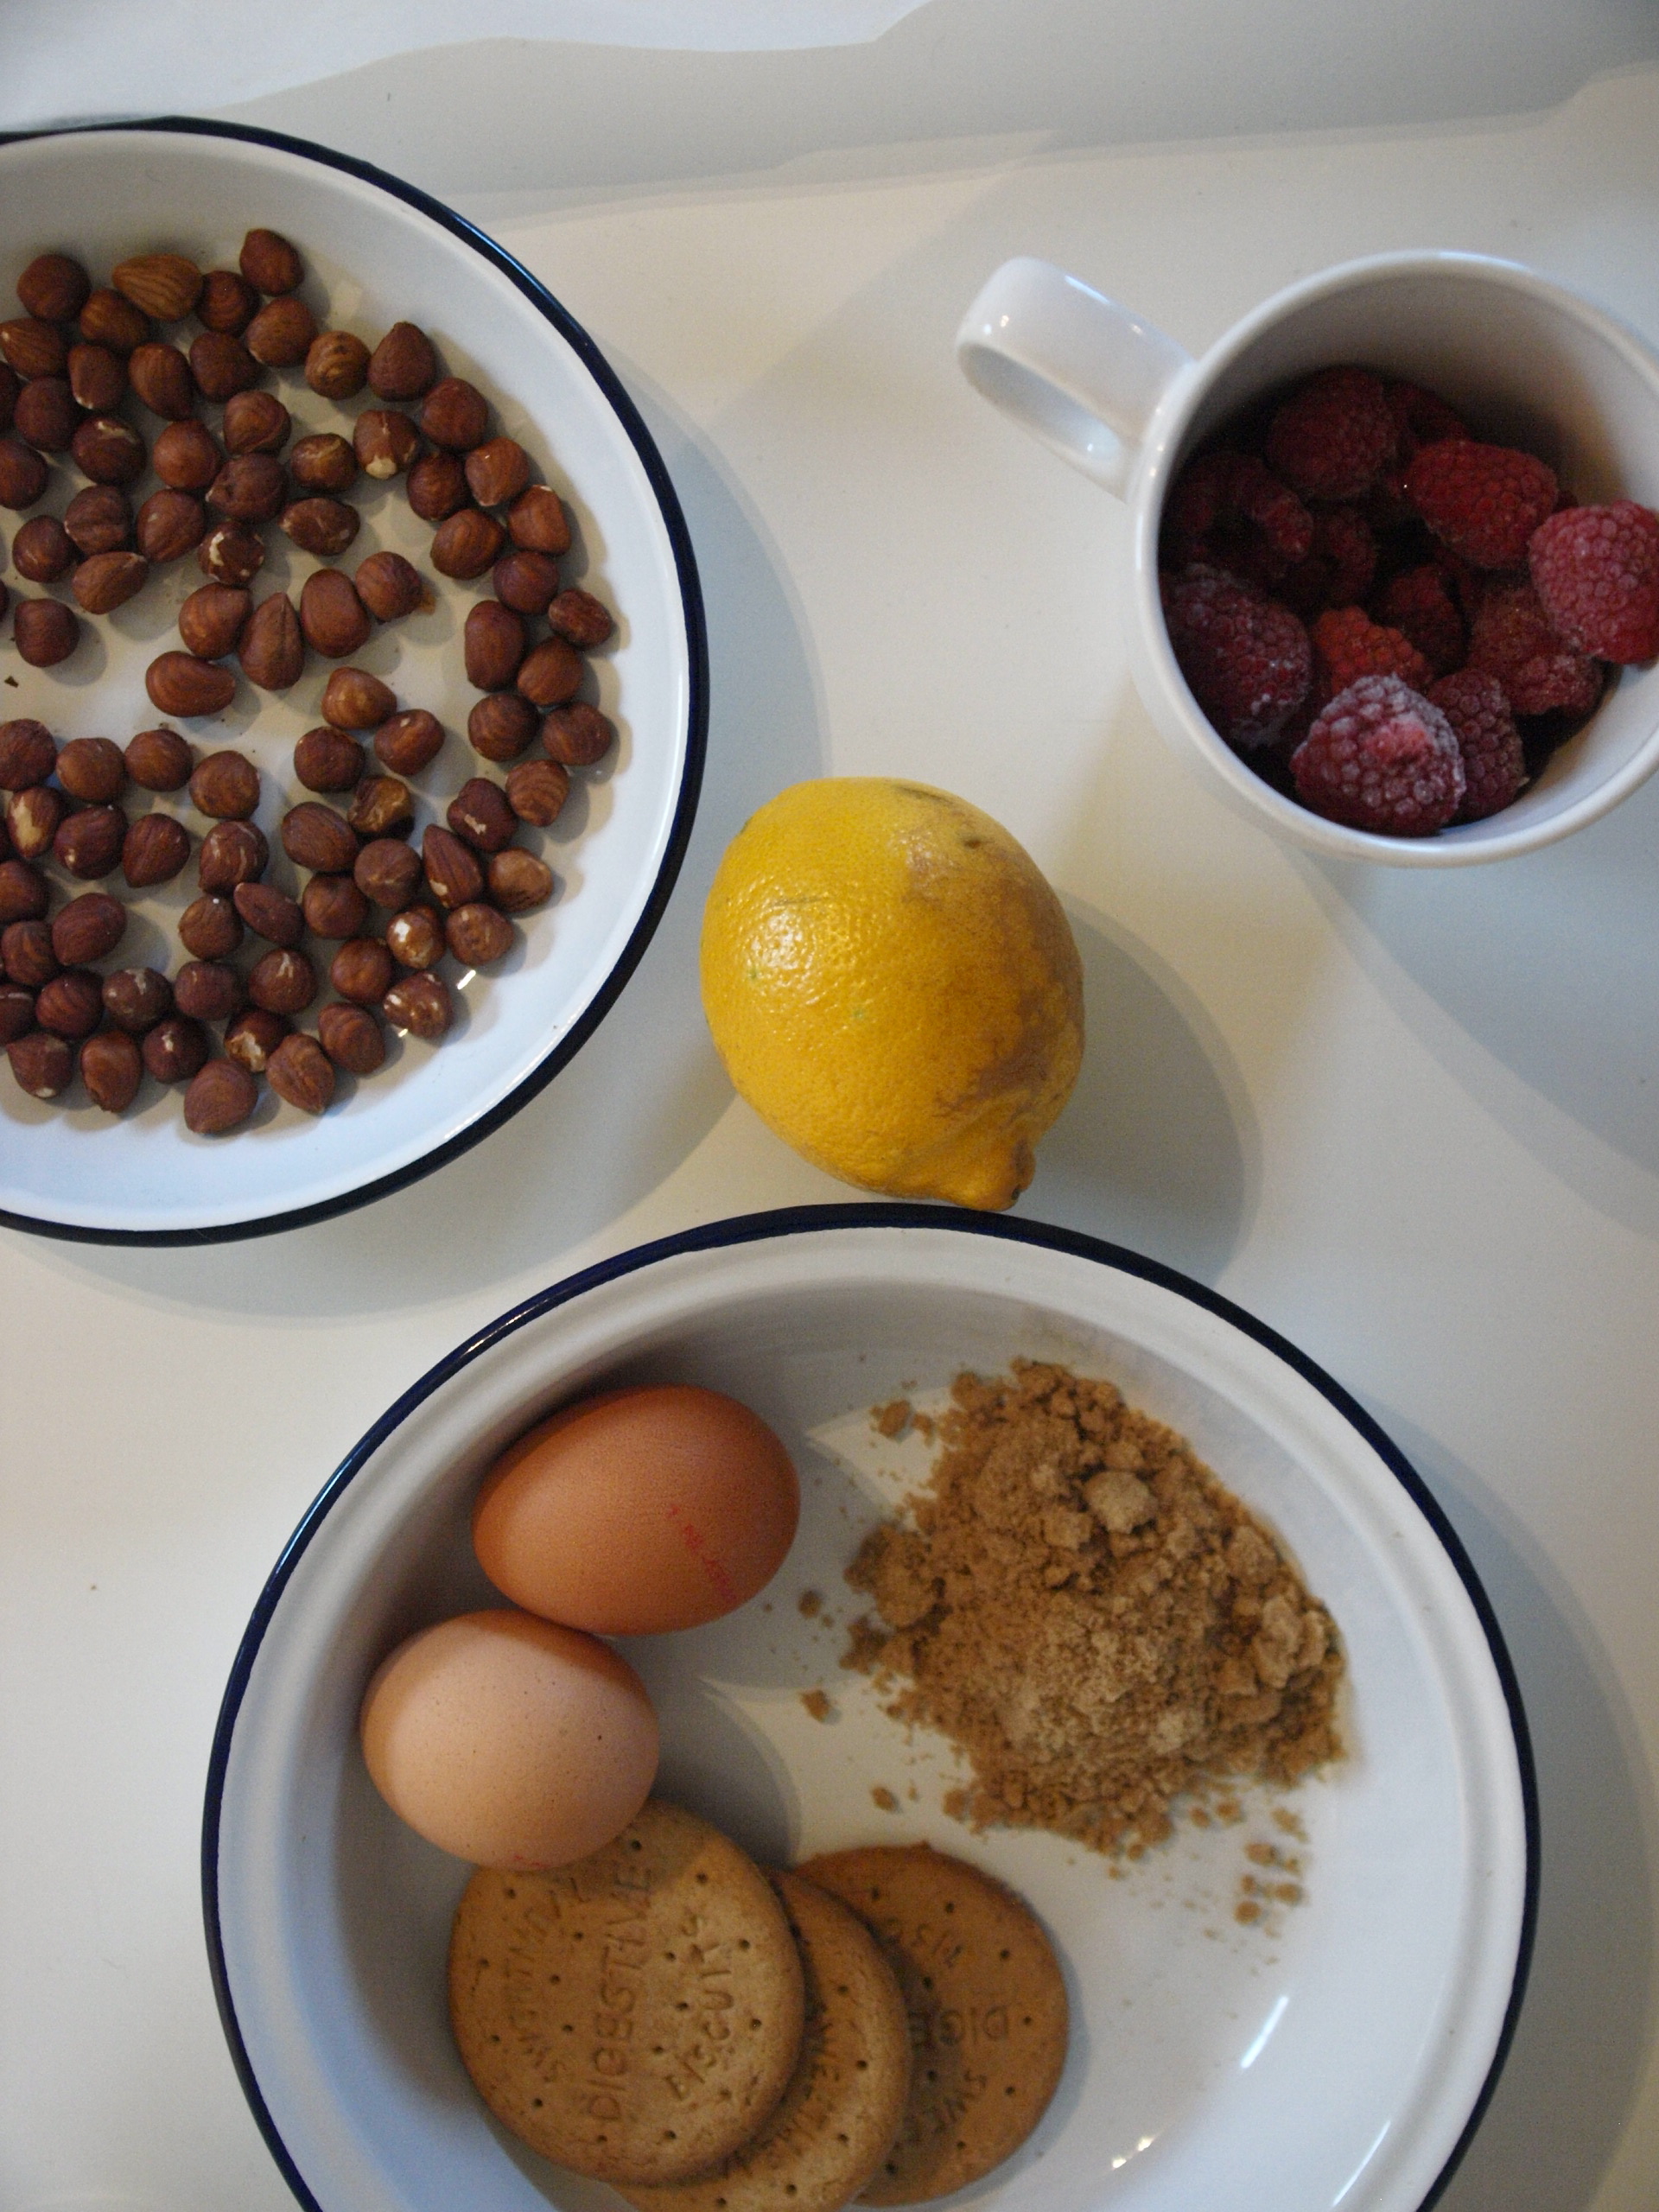
75g butter, melted
50g sugar
50g digestives, crumbled
100g ground hazelnut
Filling
540g cream cheese
200g sour cream
100g white chocolate, melted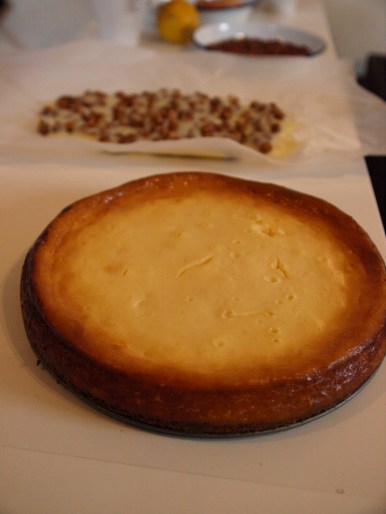
zest 1/2 lemon
juice 1/2 lemon
2 eggs, beaten
200g caster sugar
20g cornflour
Coulis
140g raspberries (frozen is fine)
20g icing sugar
1 tsp lemon juice
Brittle
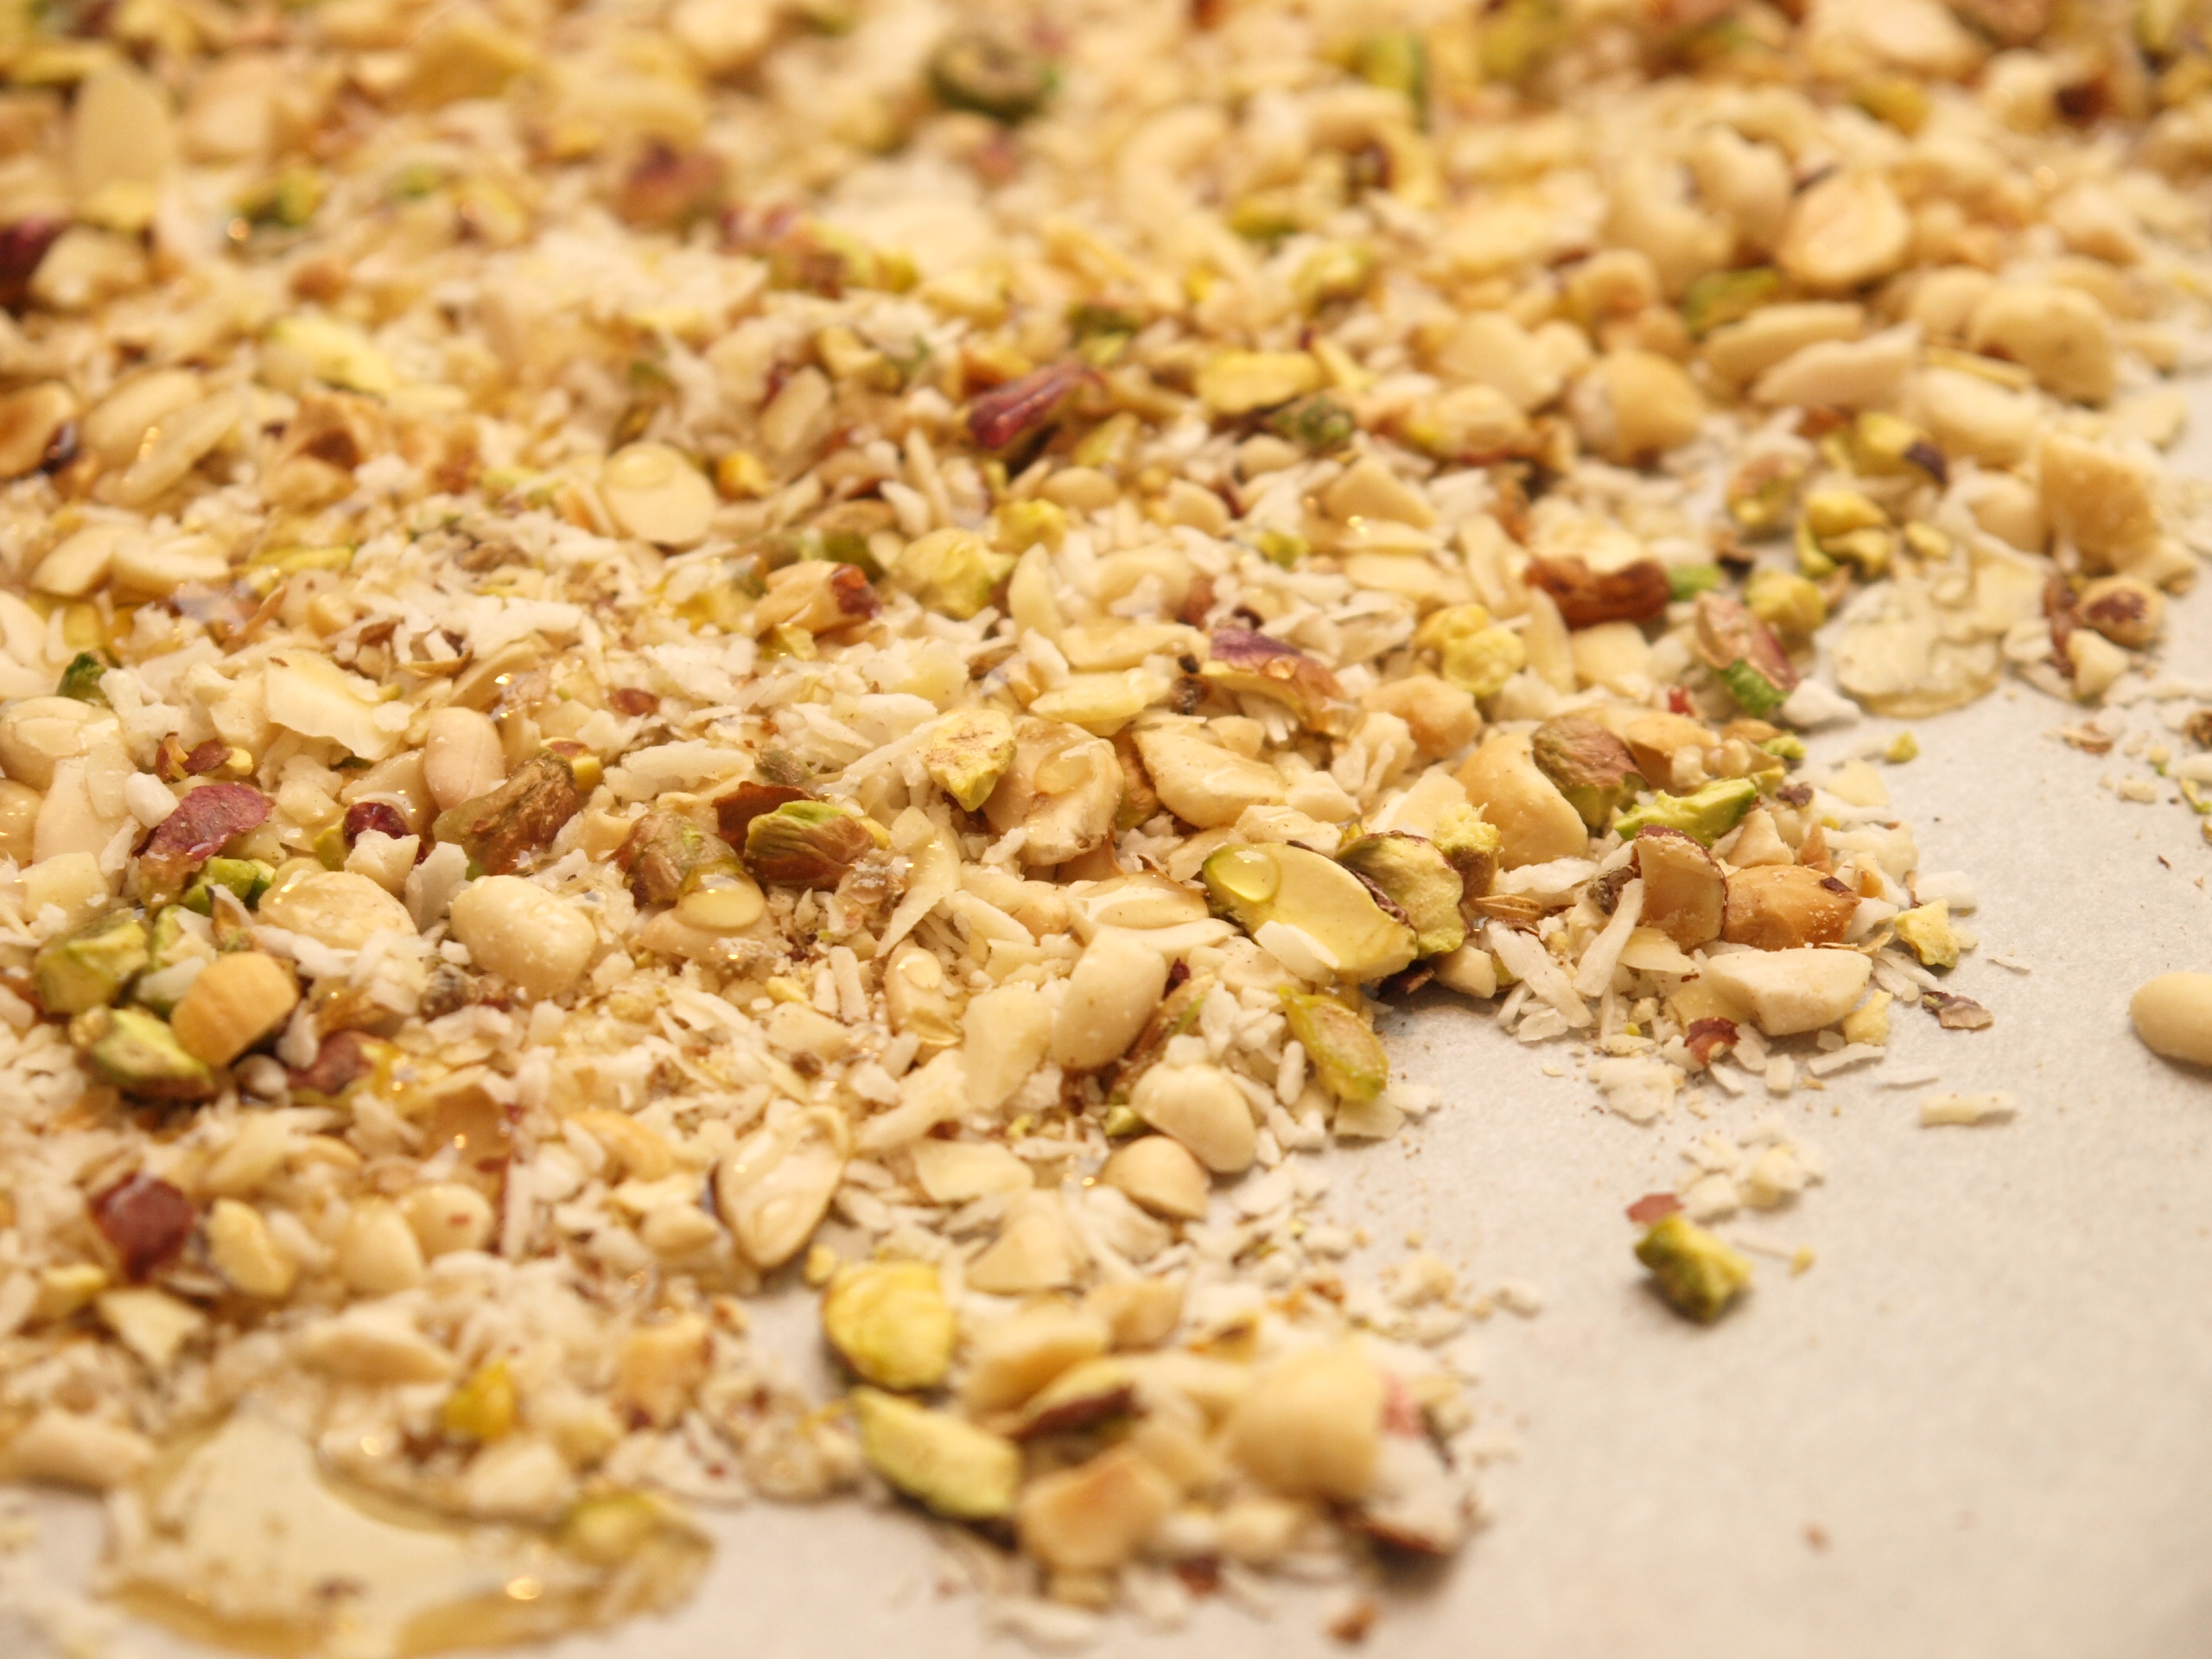
120g roasted hazelnuts
1 tbsp bicarbonate of soda
100g white chocolate
250-300g light brown sugar
Method
Base
Step 1: line a springform cake tin with greaseproof paper and preheat oven to 150c.
Step 2: combine dry ingredients, add melted butter and stir. Pour base mixture into the cake tin and press it down until it’s as even as you can get it. Stick it in the over for about 10 minutes, remove and set aside to cool. Turn oven up to 170c for next step.
Filling
Step 1: combine beaten eggs, cream cheese, sour cream, lemon juice and zest.
Step 2: melt white chocolate in a glass bowl over some hot water. Keep it on a relatively low heat and stir continuously. Take it off the heat just before the last bits have melted. Stir a couple of times and these should dissolve into the goo. Scrape chocolate into cream cheese mixture and stir in.
Step 3: combine cornflour and sugar in a separate bowl and then gradually add dry ingredients to the cream cheese mixture, giving it a good beating once all the ingredients have been combined.
Step 4: once all lumps have been beaten out, pour the filling over the base. The sour cream should make this quite a runny mixture so you probably won’t need to smooth it out – but if it’s stiff, use a knife or spatula to make sure the mixture sits evenly across the base.
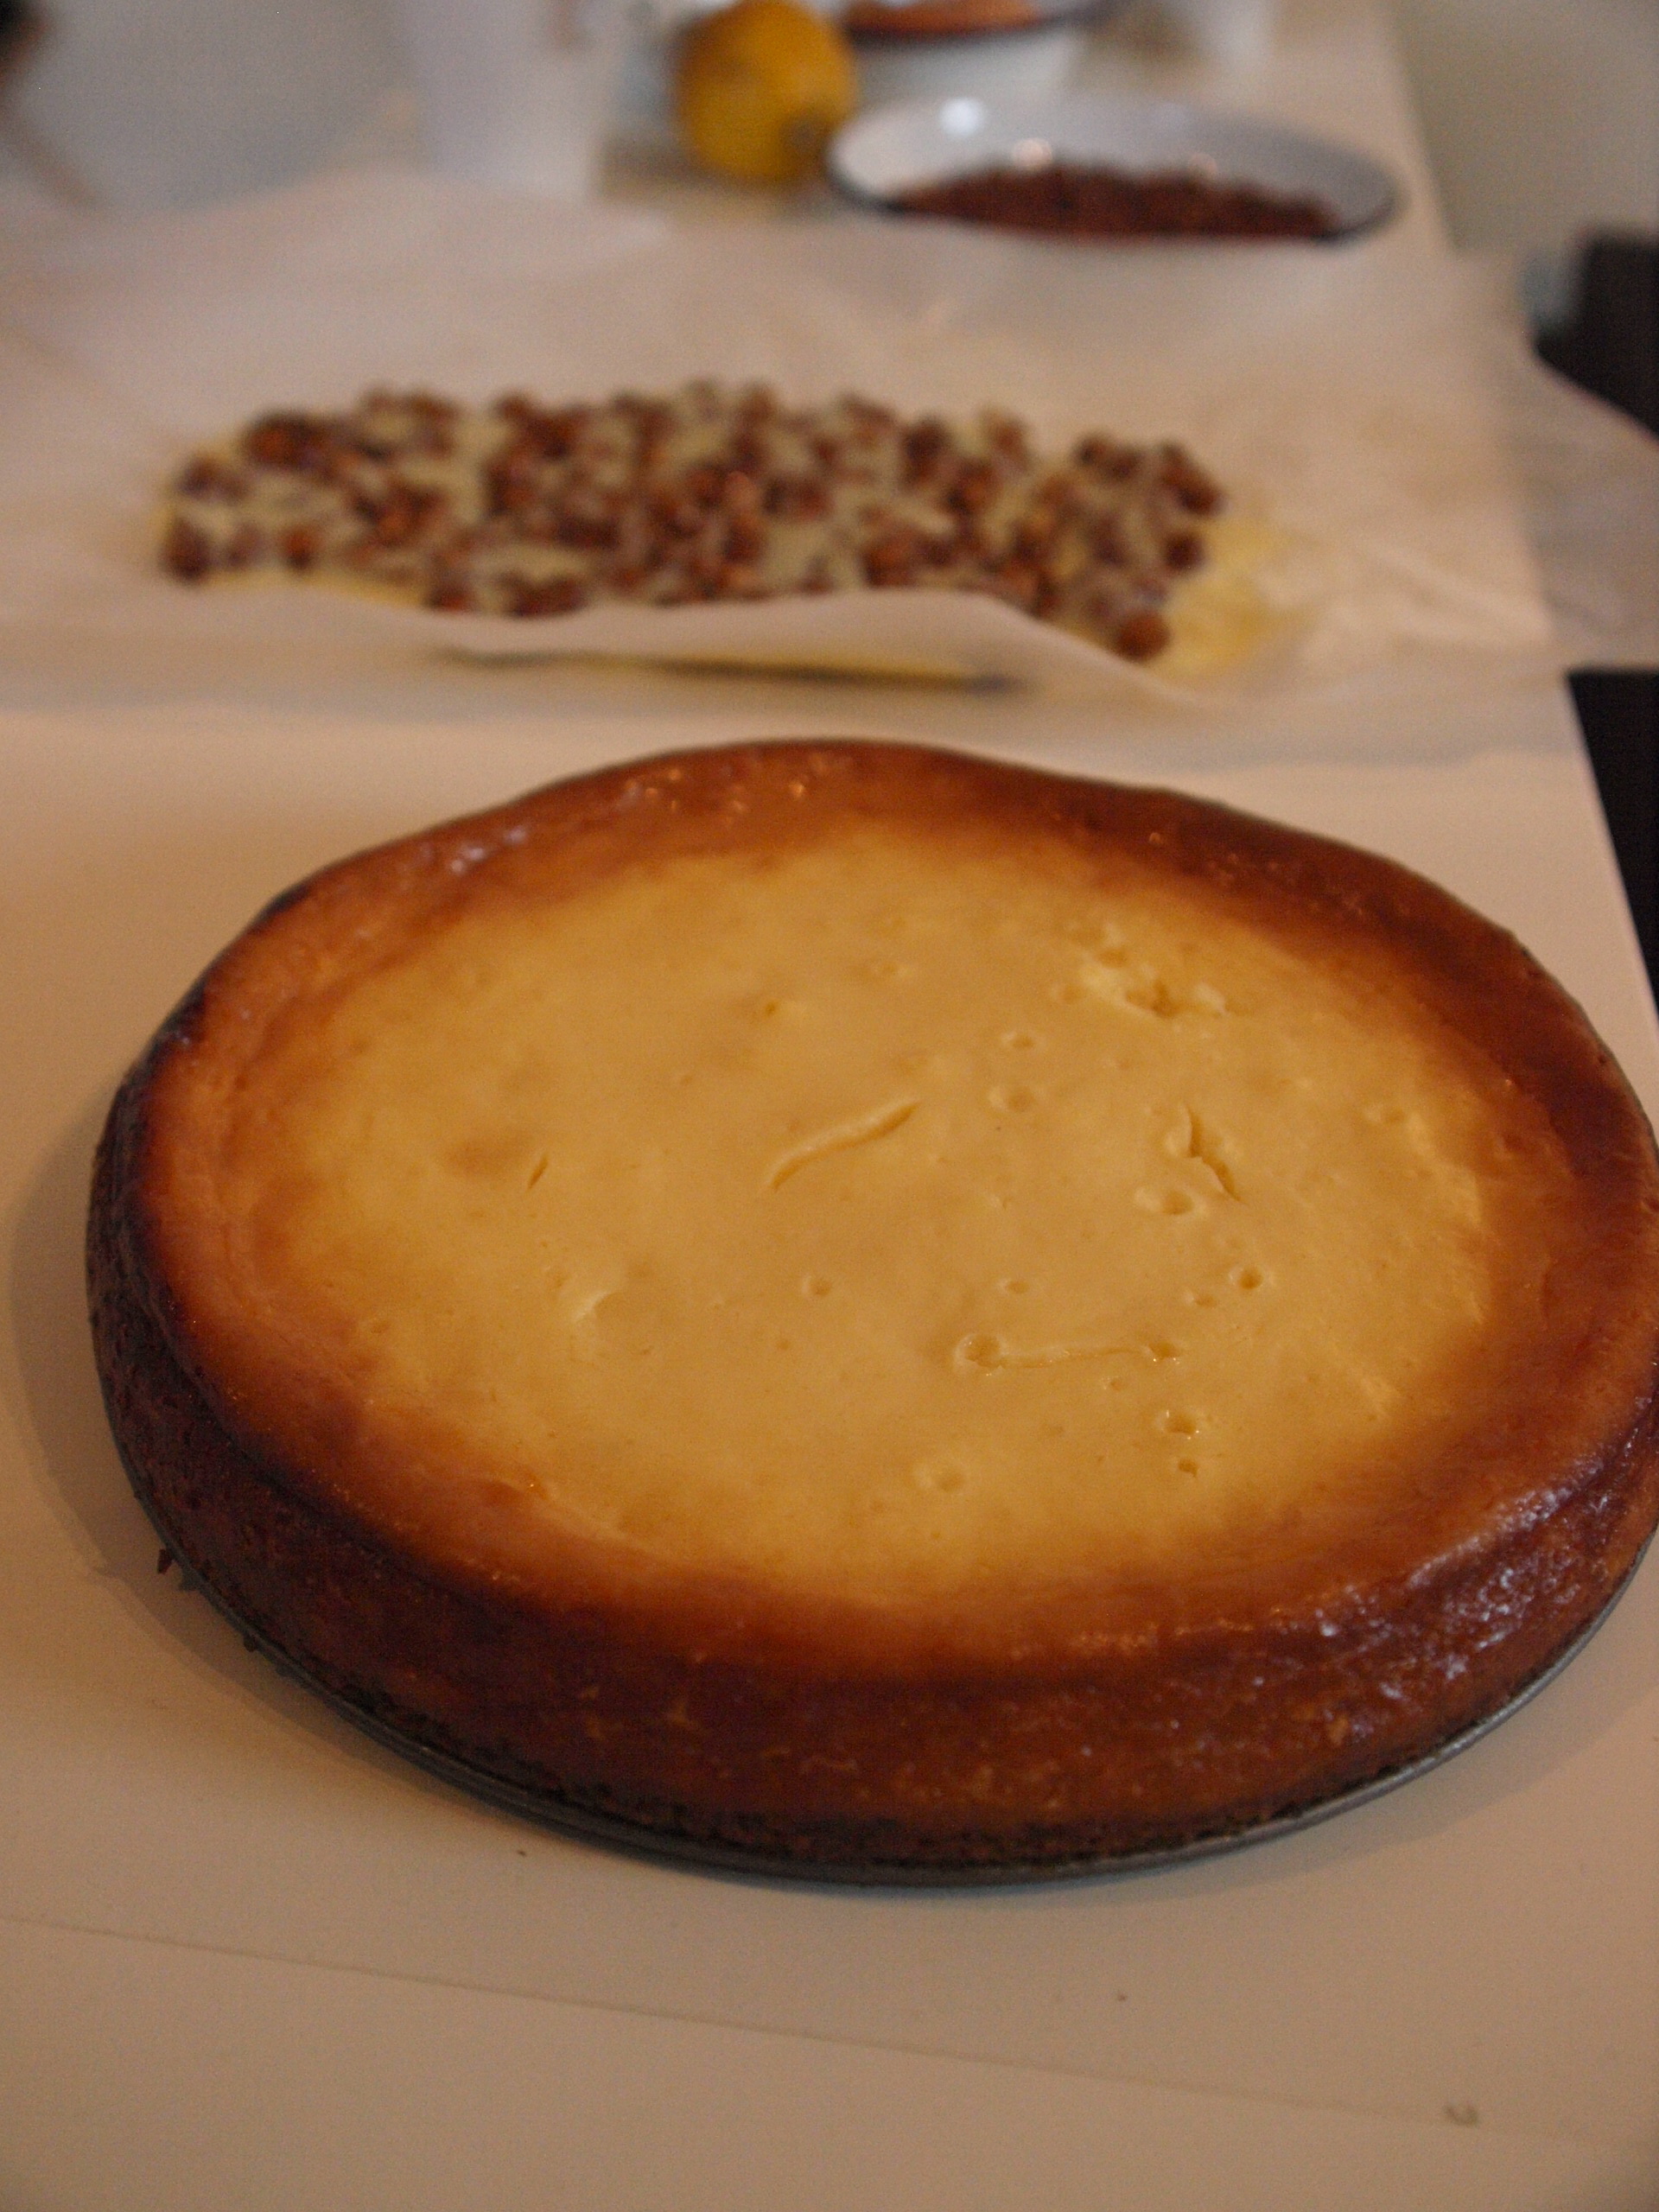
Step 5: put your cheesecake into the oven at 170c for about 40 mins. You want to remove it when the edges are a teensy bit brown, and firmer than the middle (which will still be wobbly). Set aside and leave to cool for 3-4 hours – or even better, leave it in the fridge overnight.
Coulis
Step 1: dump all ingredients into a jar or high-edged bowl (to prevent painting your kitchen in raspberry coulis) and liquidise with handheld blender. You can strain out the seeds with a sieve if you like, but I quite like them so I don’t bother.
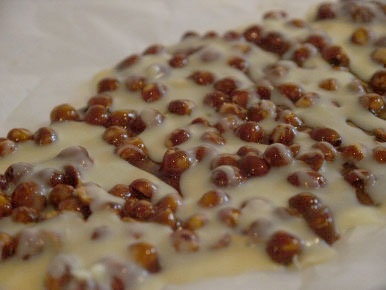
Brittle
Step 1: buy pre-blanched, pre-roasted hazelnuts. Failing that, preheat oven to 150c and see steps 2-4.
Step 2: bring a small pot of water to the boil, add a tablespoon of bicarbonate of soda and pour hazelnuts in. The water will go brackish pretty much immediately. Leave for 2-3 minutes and then strain.
Step 3: using a cloth, or your hands, rub the skins off the hazelnuts. They should slip right off – and running them under some cold water will do some of the work for you – so whilst this is slightly annoying, it actually isn’t as arduous as it sounds.
Step 4: place hazelnuts on a baking tray and put into a pre-heated oven at 150c for about 10-15 minutes, shaking once in the middle. The best way to test if they are ready, really, is to bite into one. But they should be good to go when they are ever so slightly browning and the oil is just starting to seep out of them. Once ready, remove from oven and set aside.
Step 5: pour sugar into a pan or wok and melt on a medium heat. When it has turned to liquid, pour in the hazelnuts and make sure they are all, or mostly, covered with the sugar. Pour mixture onto a sheet of buttered greaseproof paper and spread out flat. Set aside to cool.
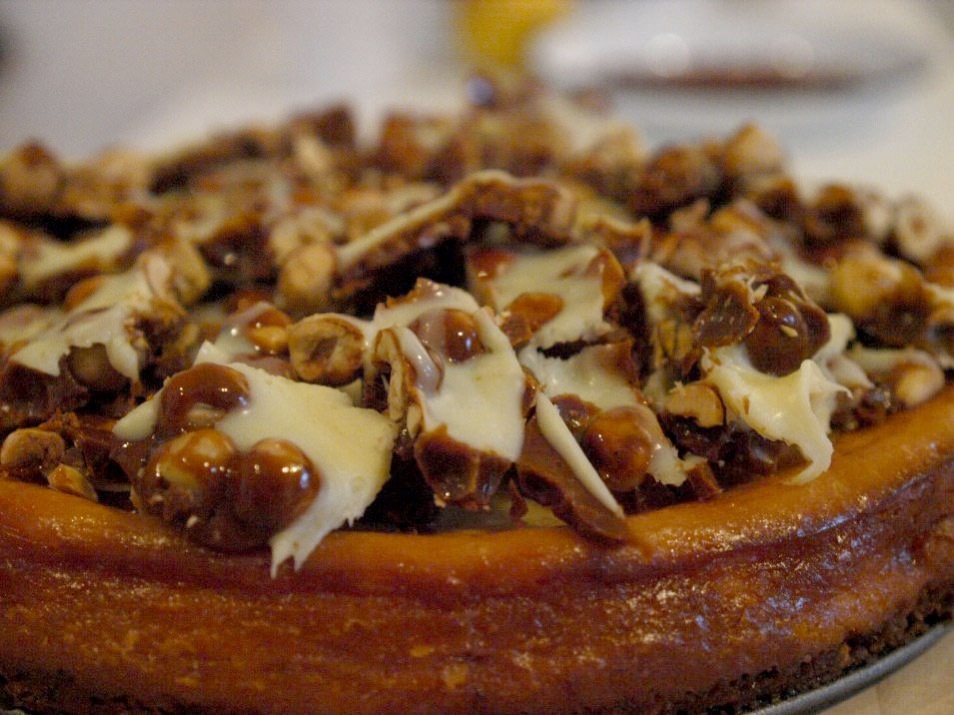
Step 6: melt 100g of white chocolate (see above).
Step 7: pour melted chocolate over the hazelnut brittle. Don’t worry too much about perfect layers as it’s all going to get smashed up at the end anyway.
Step 8: place in freezer for 3-4 hours or overnight. When it’s good and set, use a knife to chunk it up.
To serve:
Remove cheesecake from tin. Sprinkle the brittle over the top. Serve with coulis on the side or over the slice – whatever looks right to you. Enjoy!

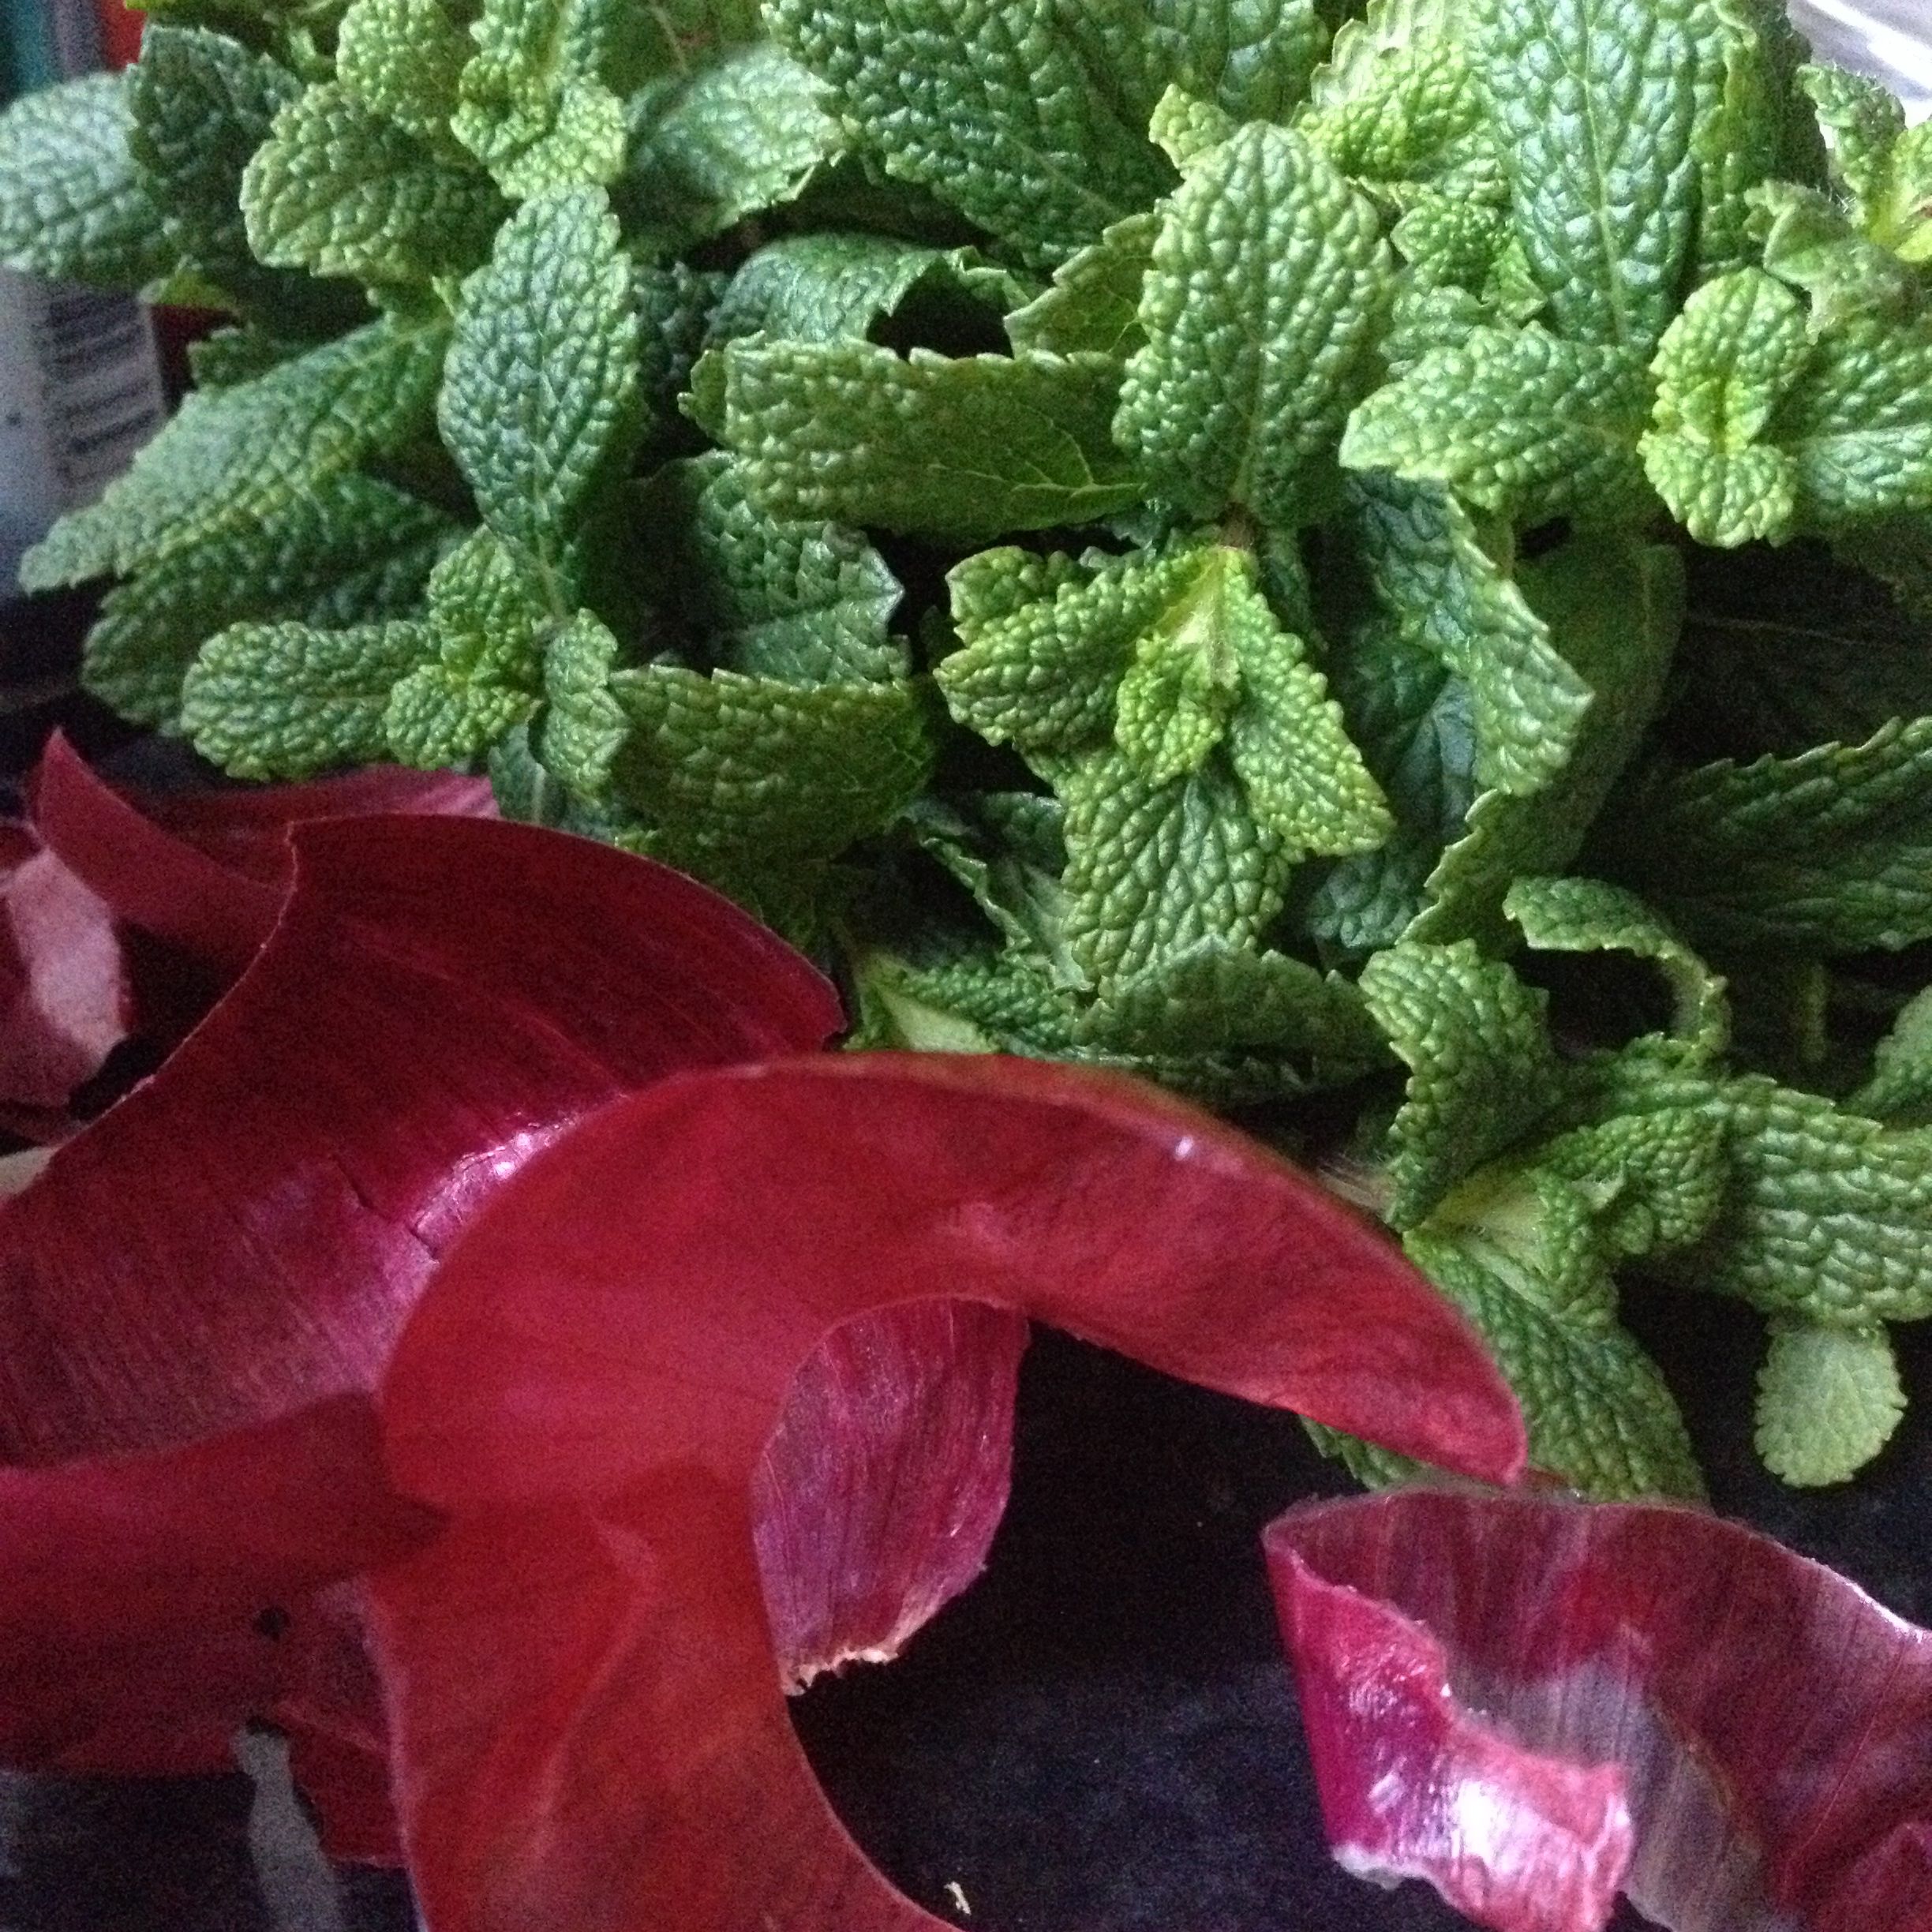
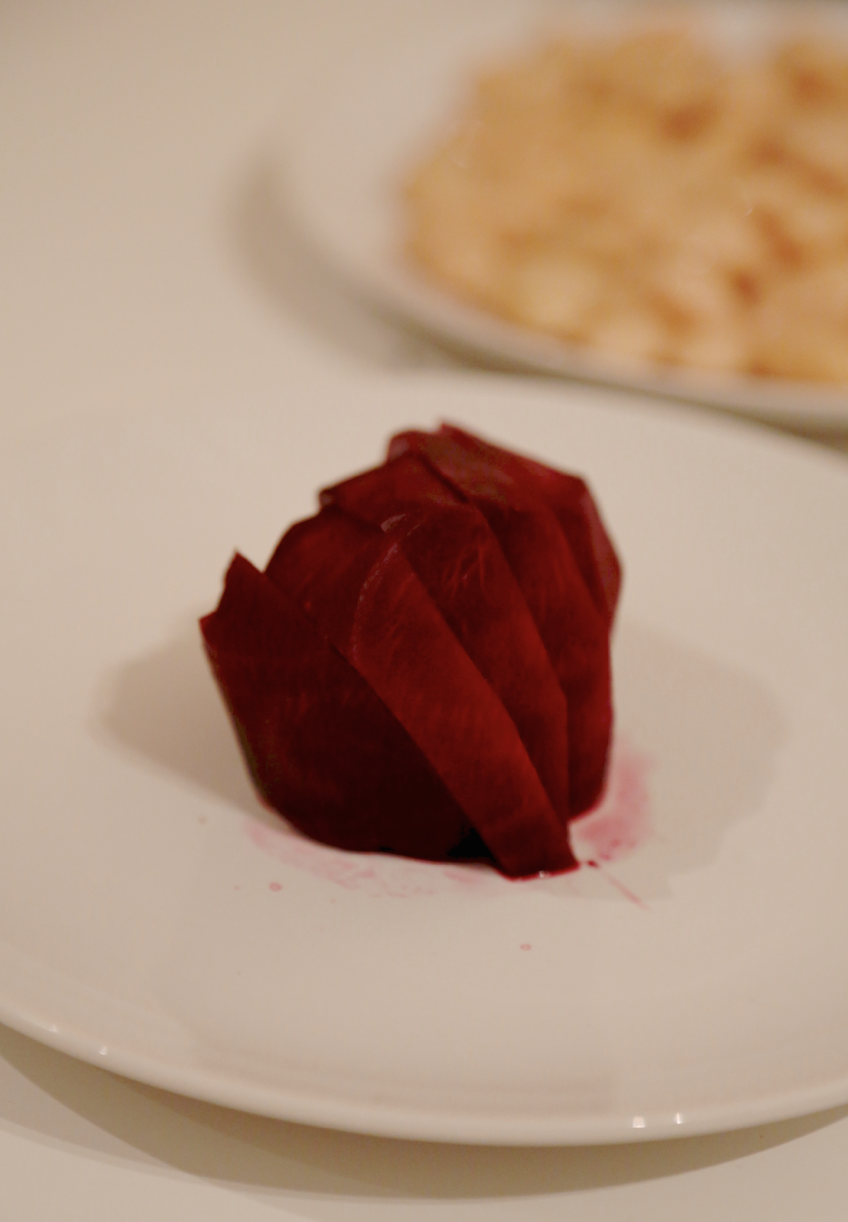
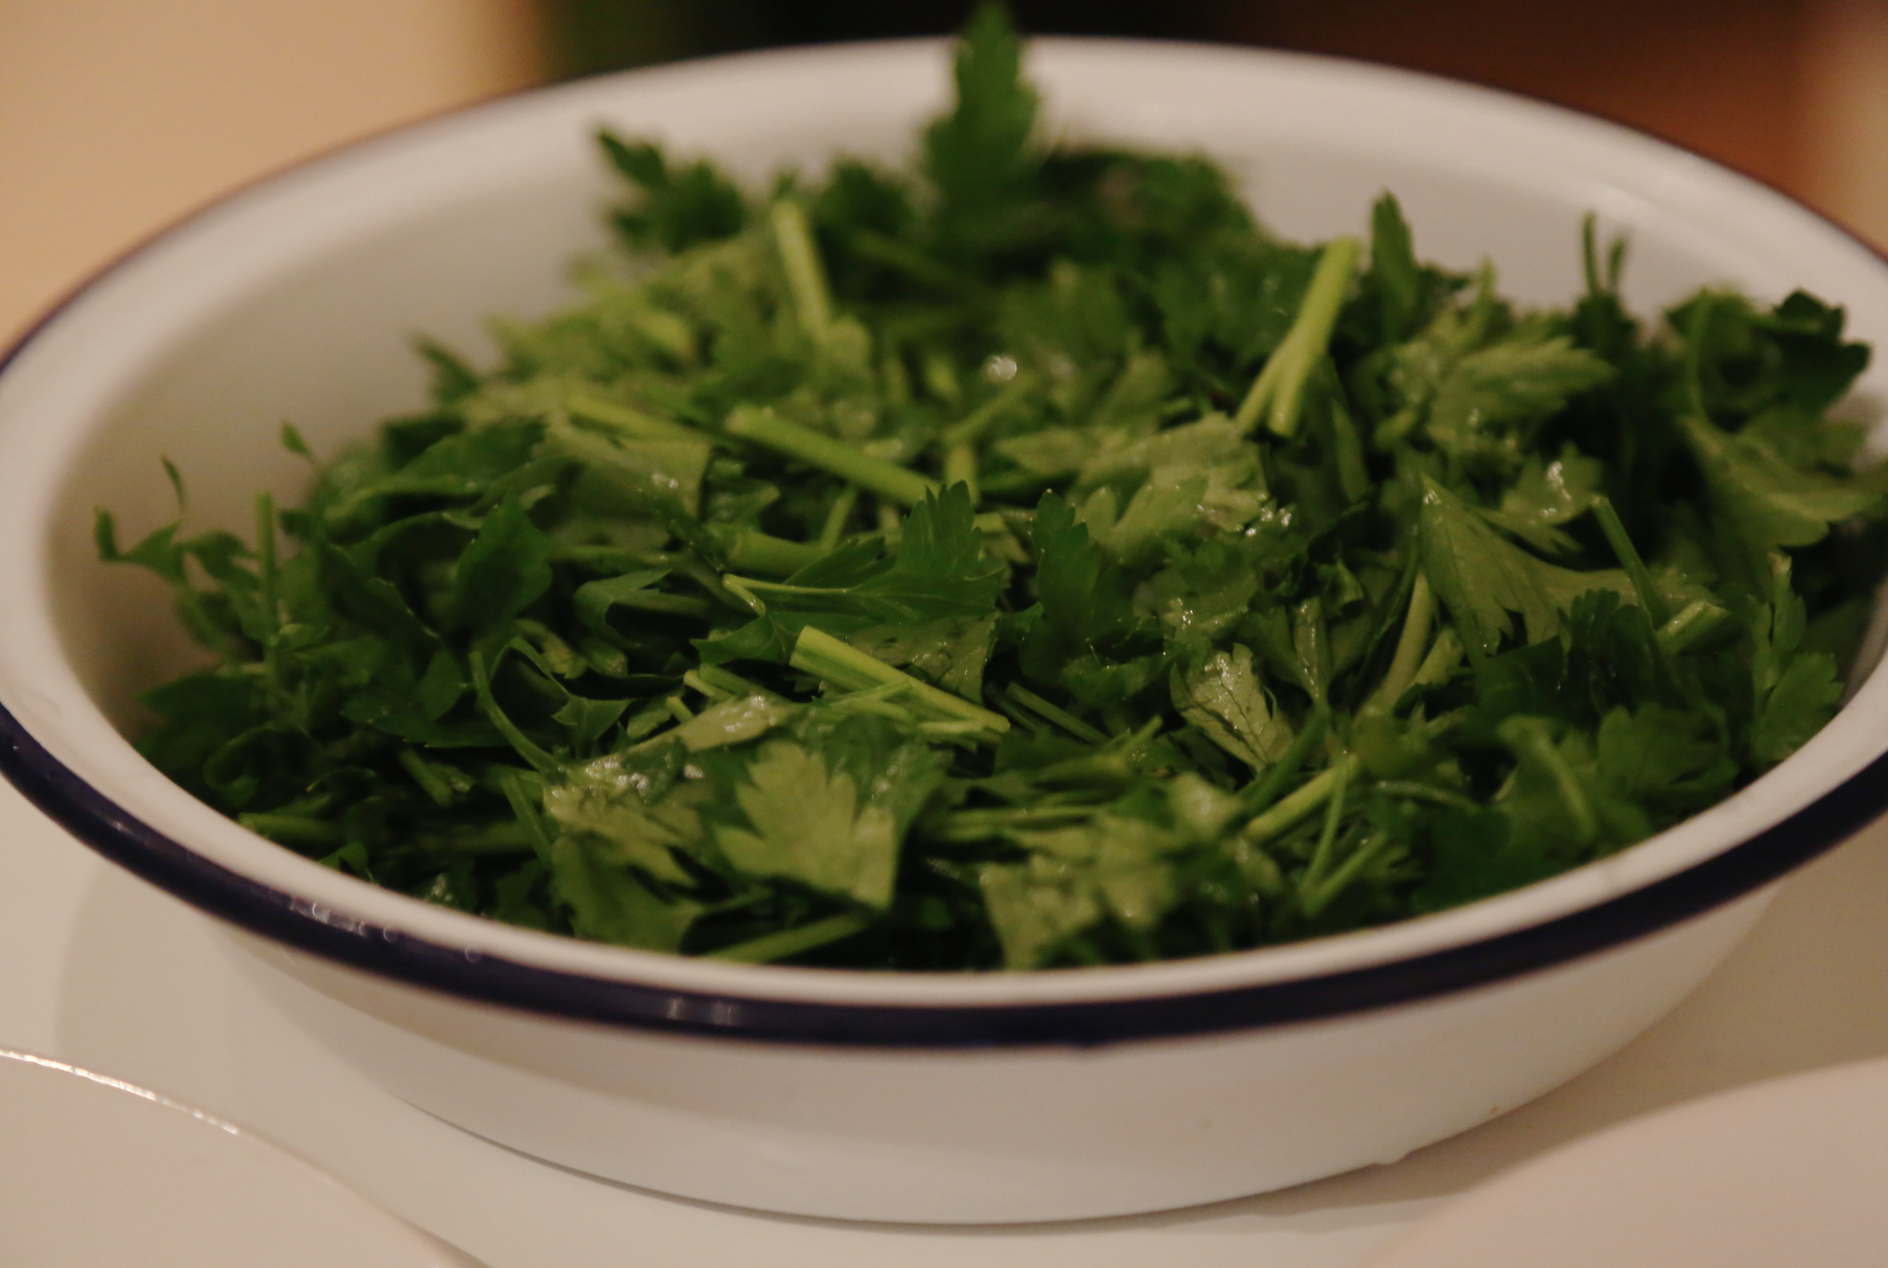
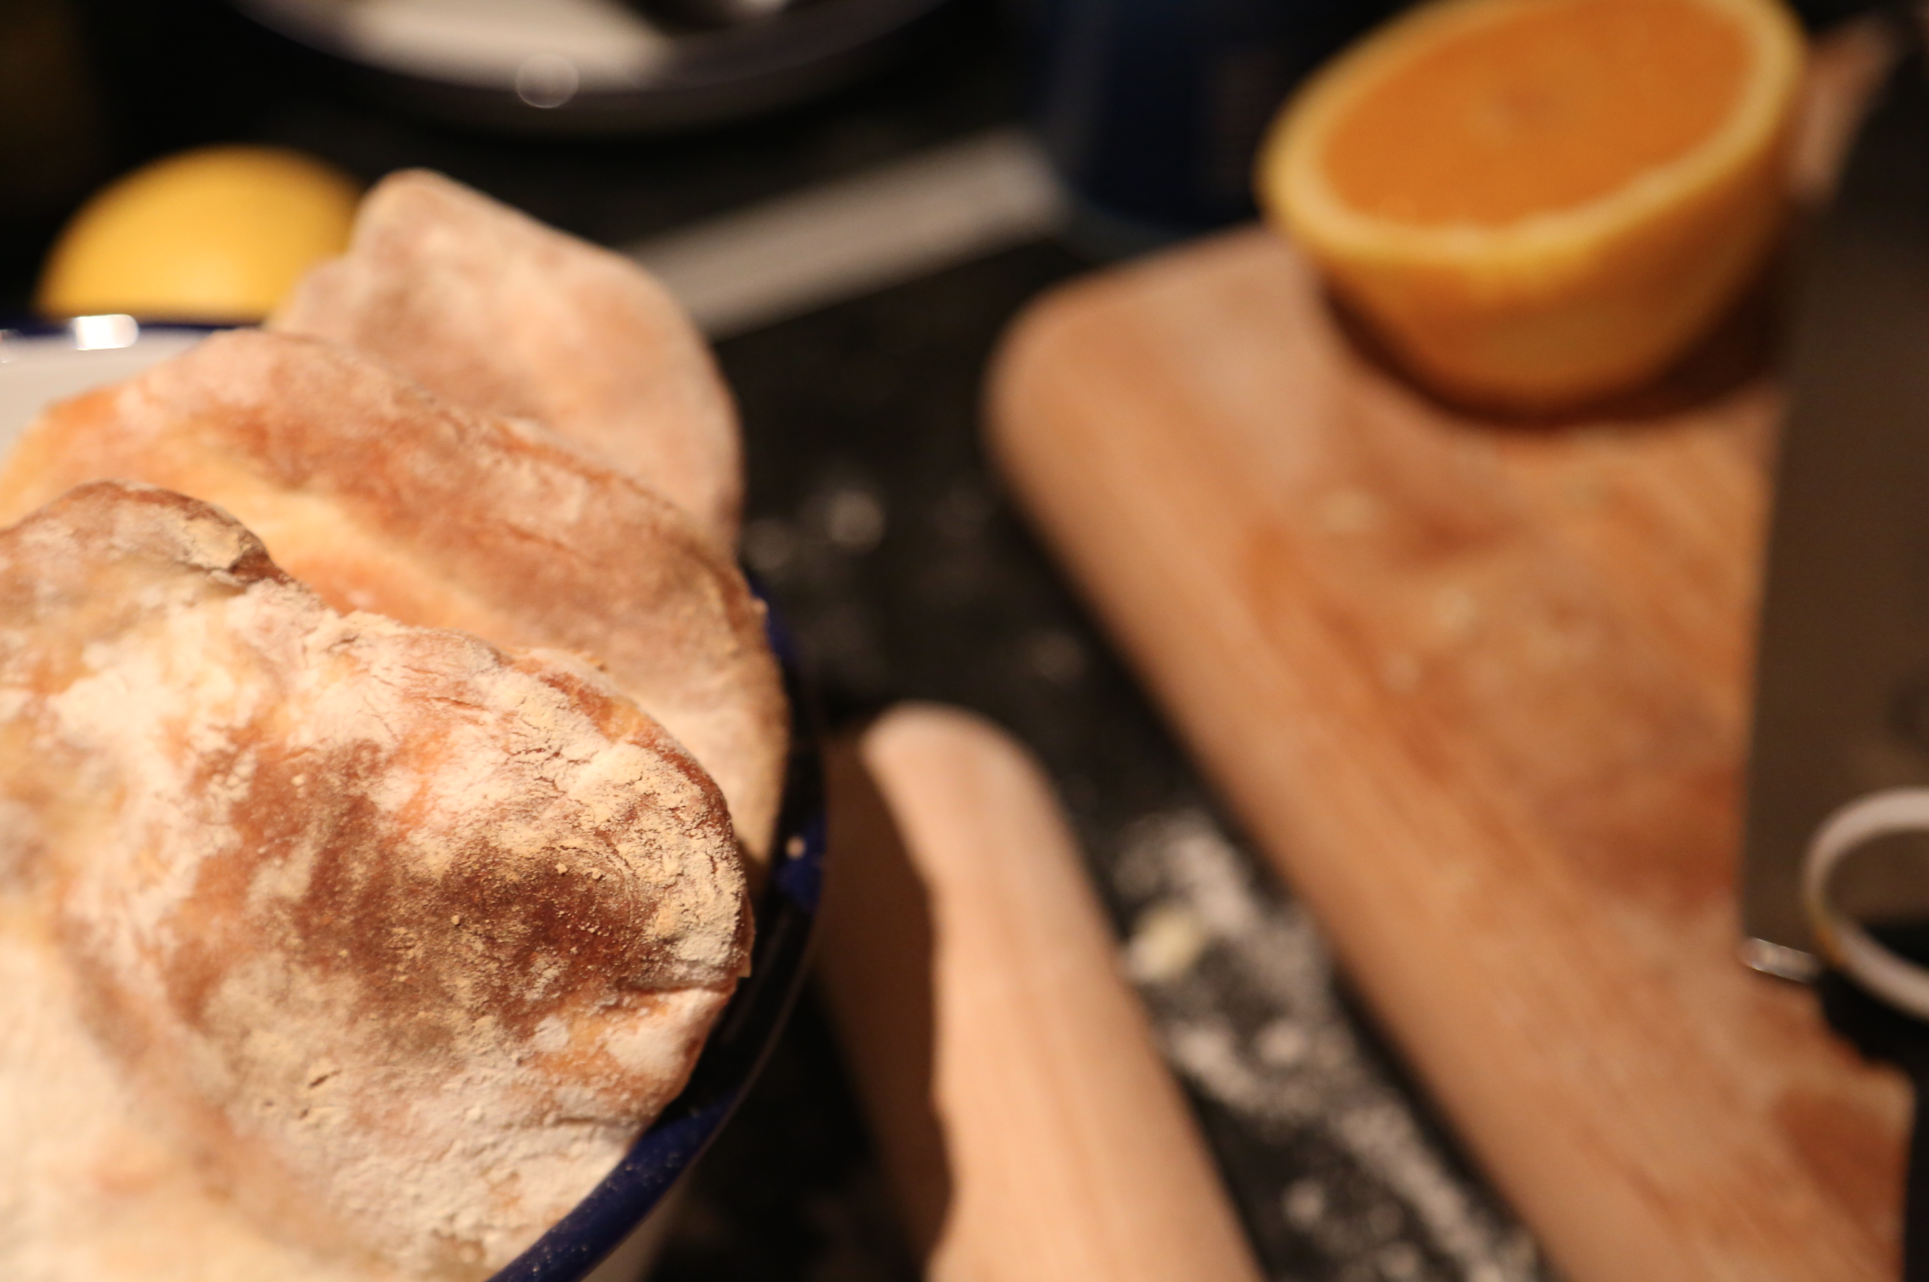
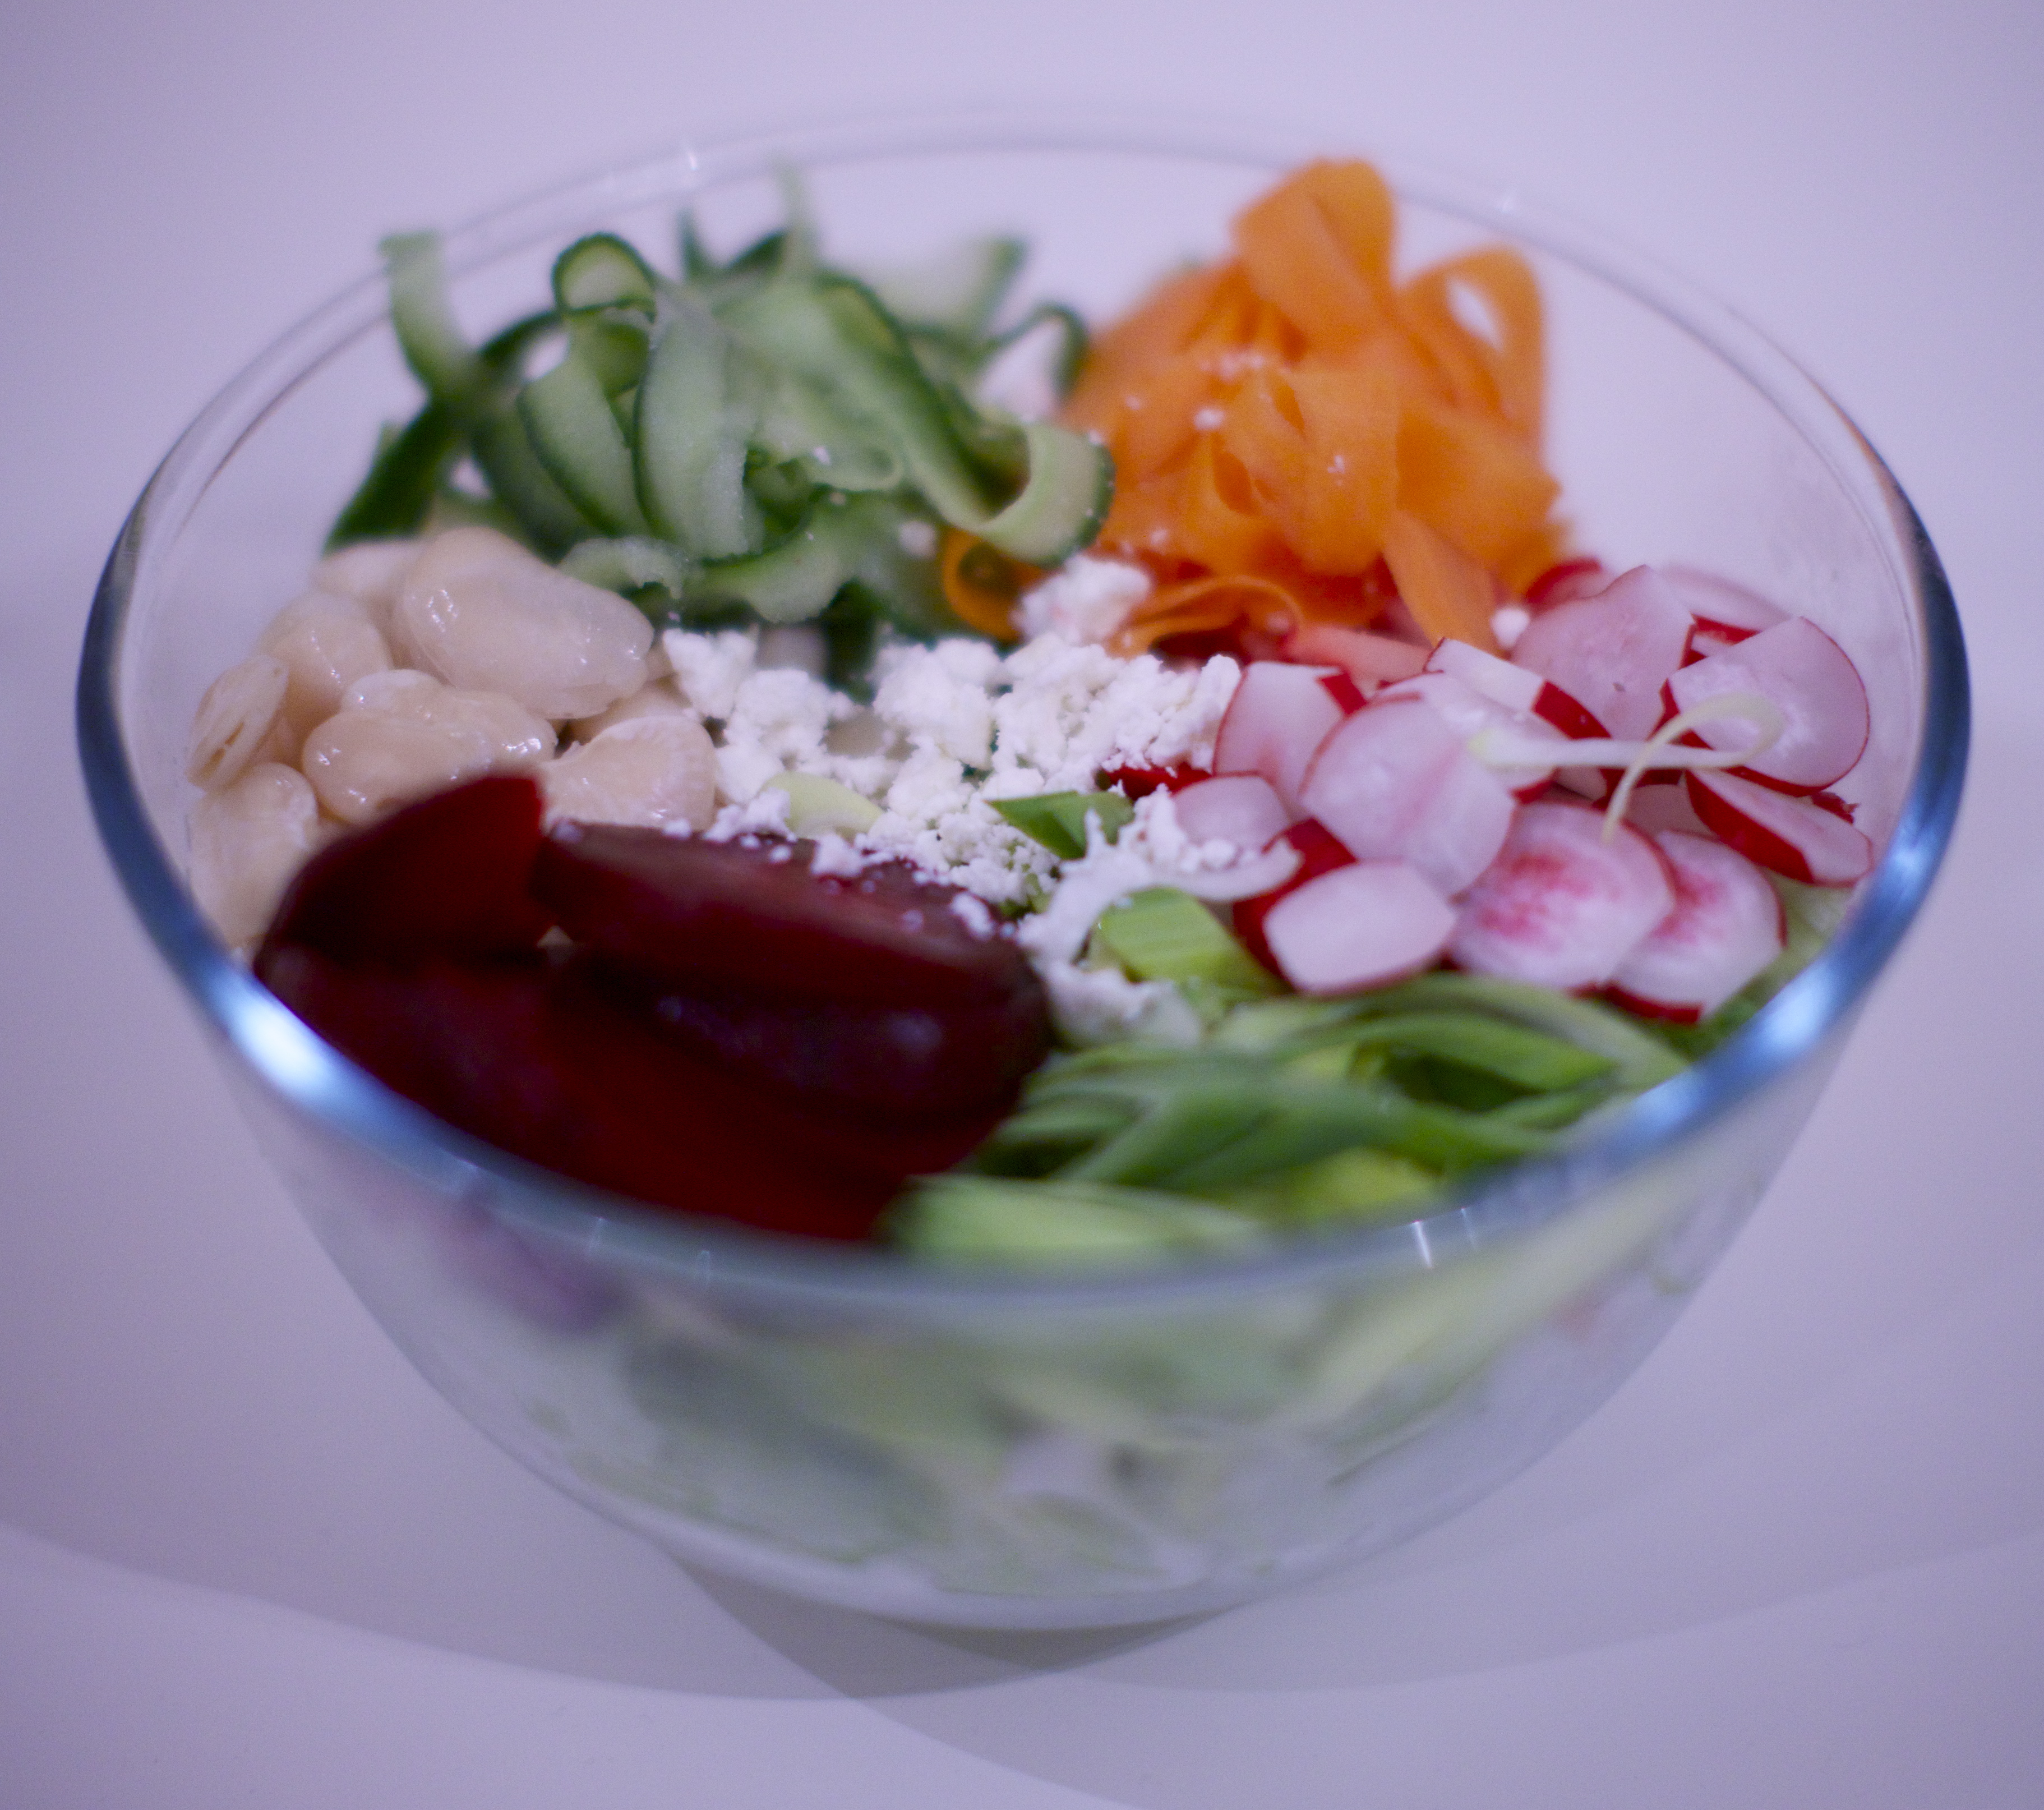 There’s not a lot to say about this salad, except that it is surprisingly substantial and goes very well with flatbread. Oh, and it’s based on the house salad from Restaurant Tiffany in Prishtina, Kosovo – one of the finest establishments in the world.
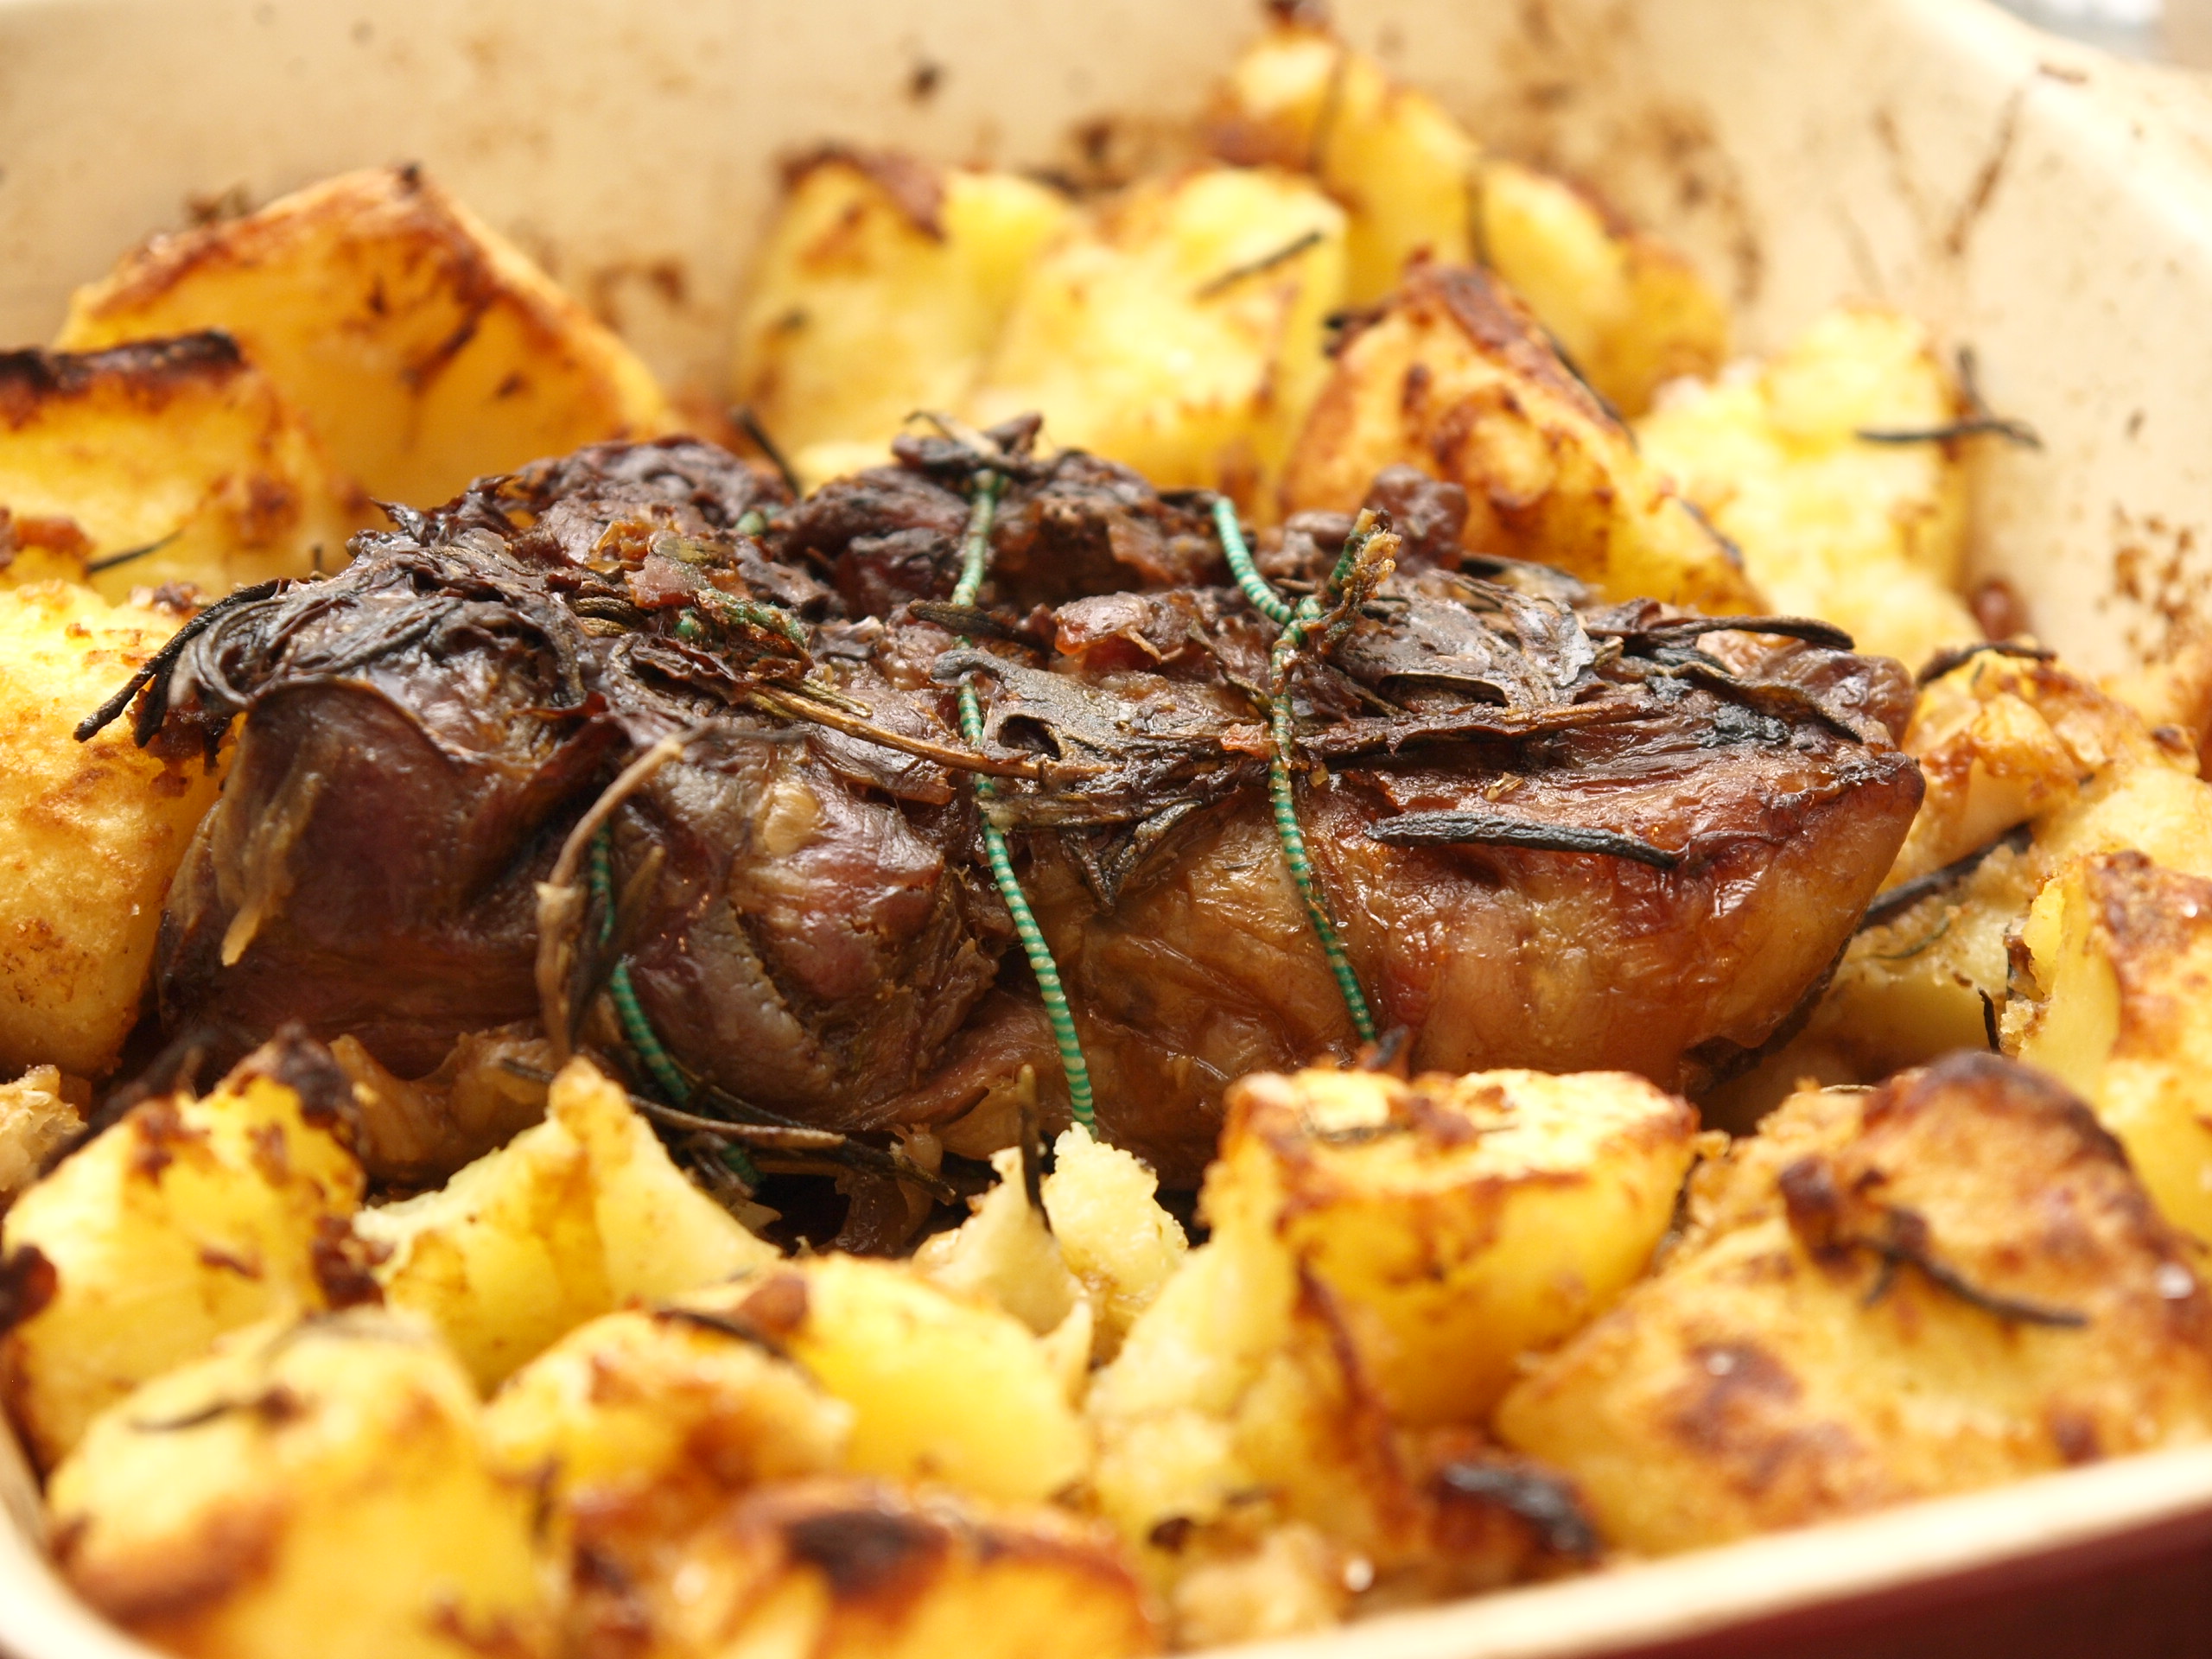
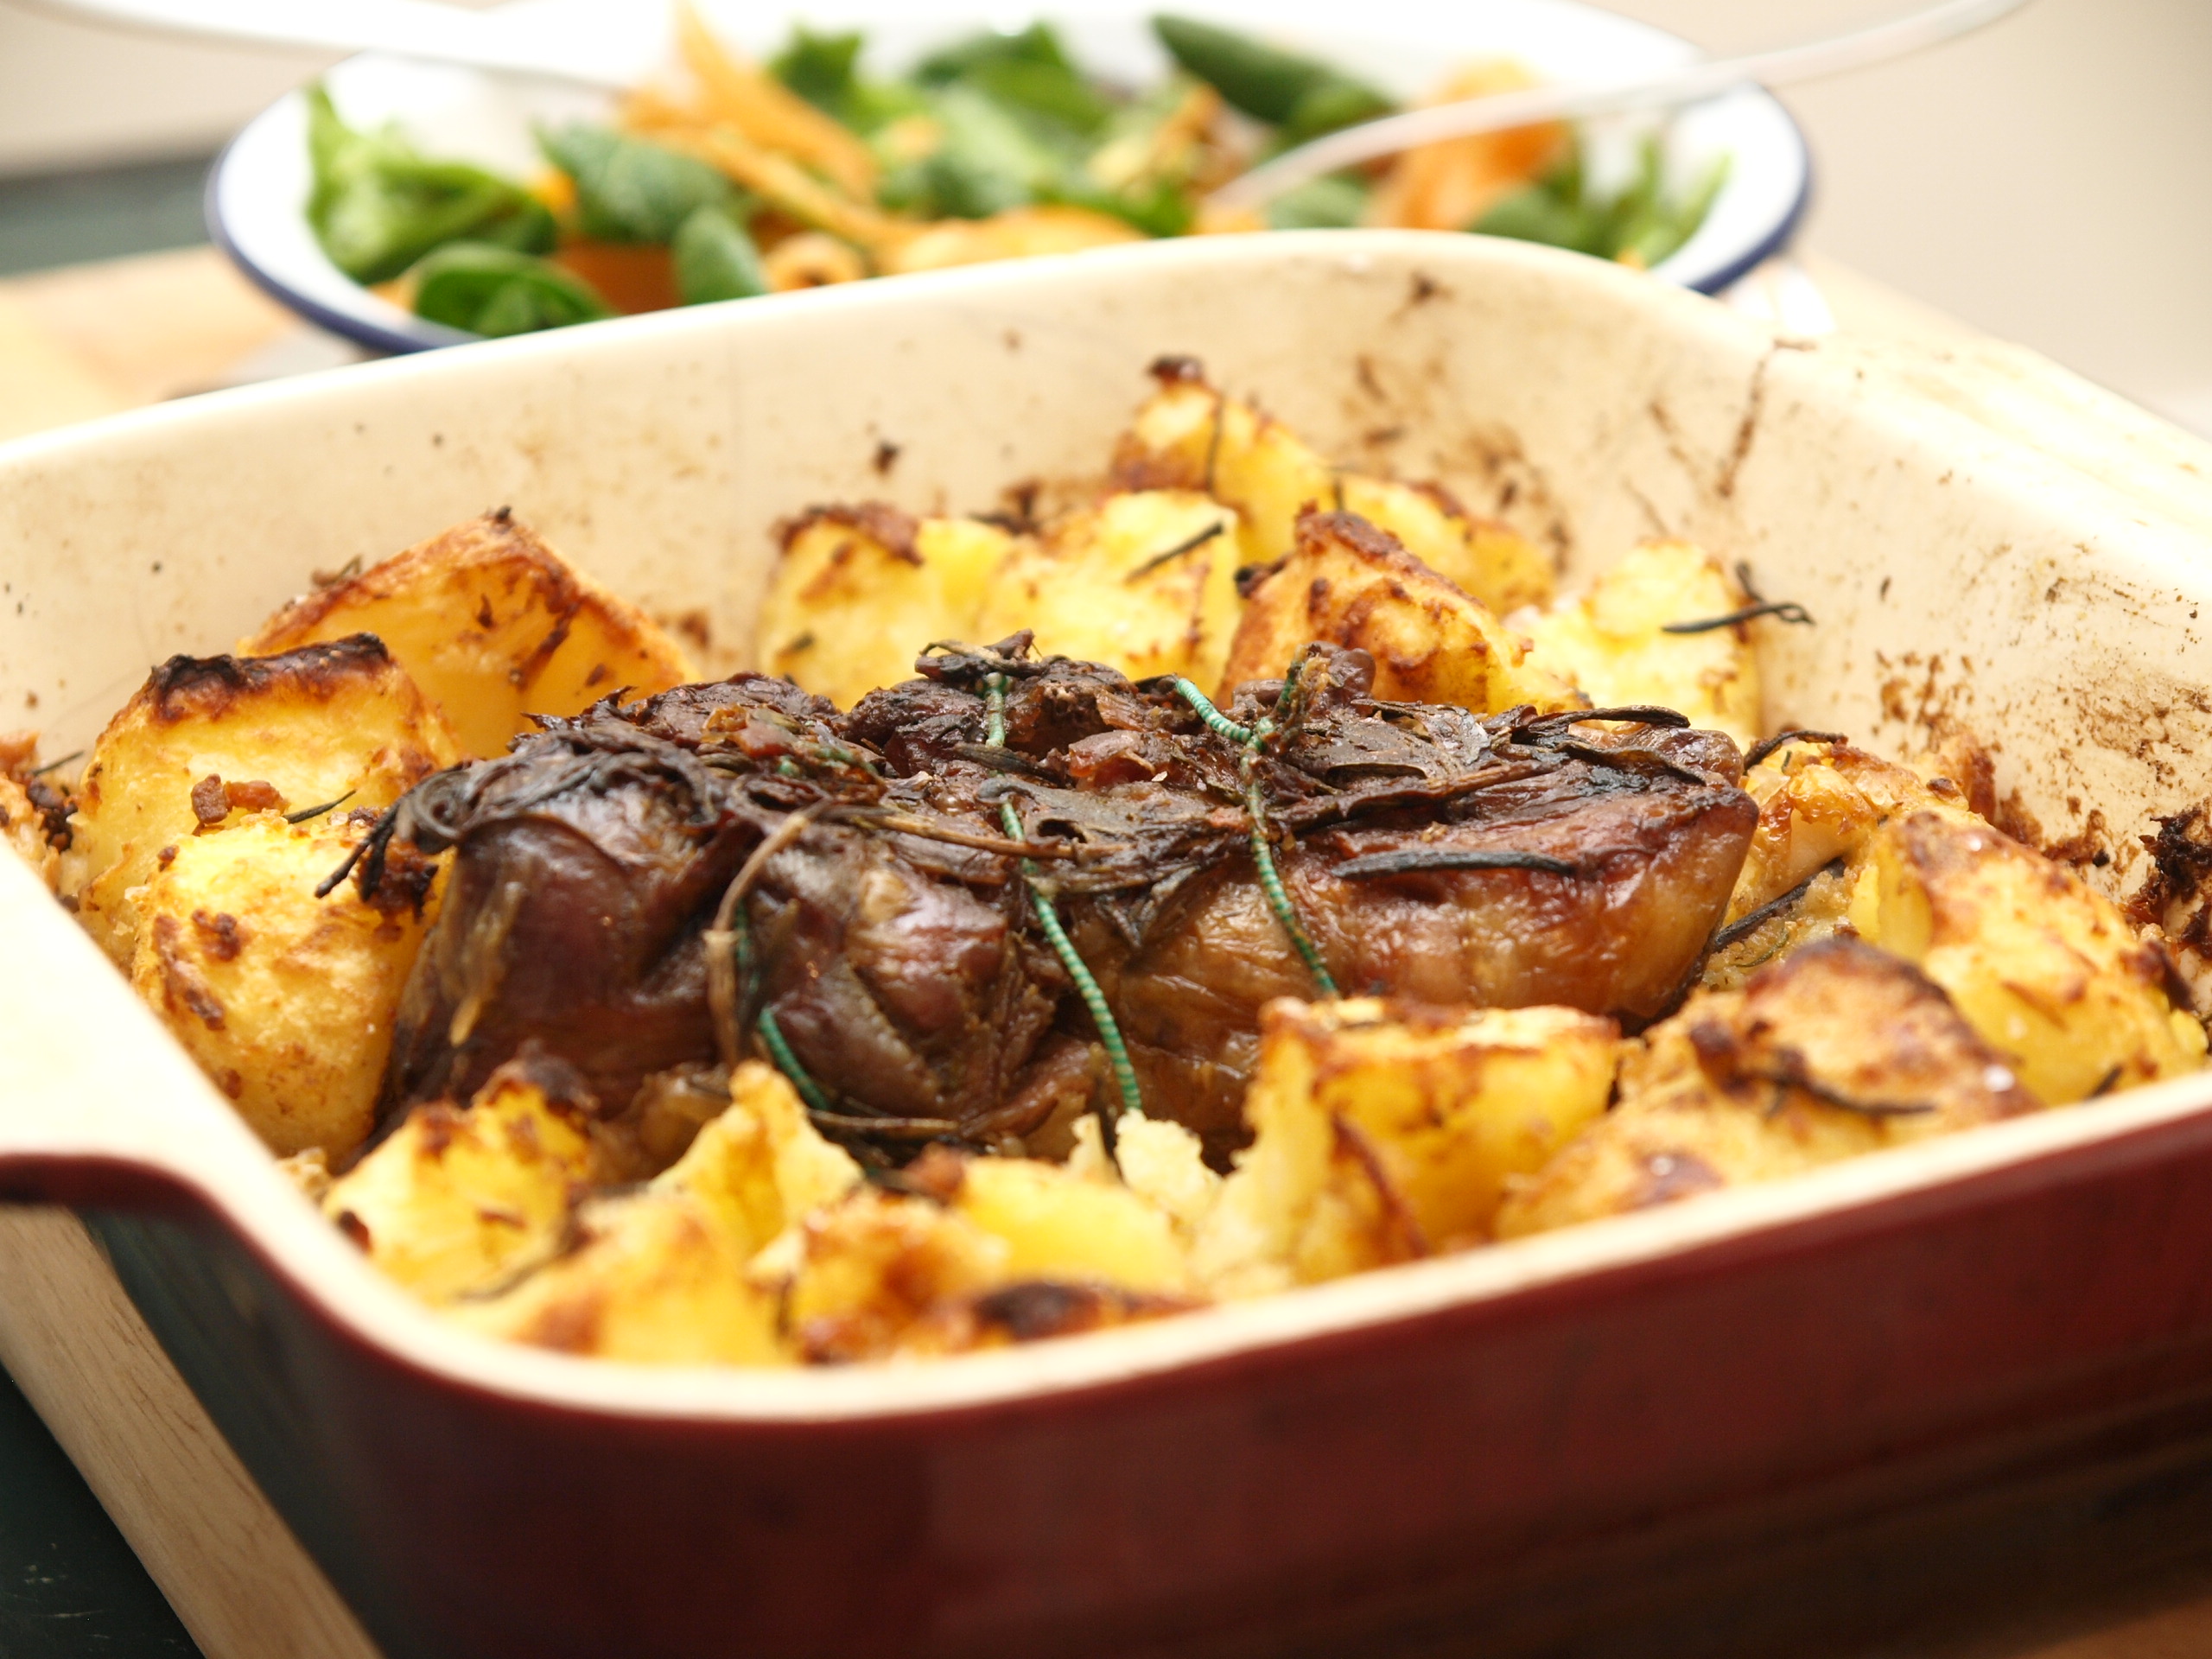
 400g boneless shoulder of lamb